


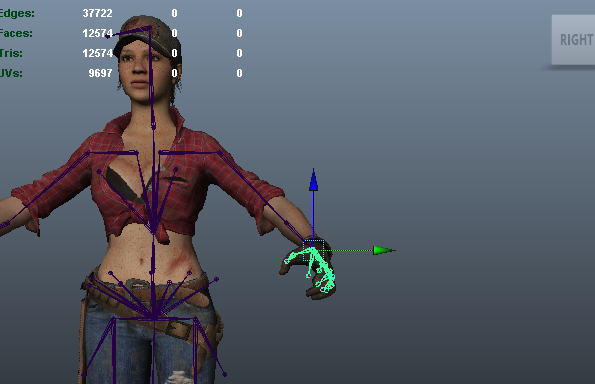
Make sure you check all the sides, e.g top, right.
Rigging
As for the advanced maya user they would probaby know how to rig it.
Select All from the top menu
Then go into Skin > Bind Skin > Smooth Bind (You can tweak around the bind settings if you'd like)
(If you can't find the Skin dropdown menu go into Animation mode)
Now check your bind for any weird occurences or errors and fix it up with example the Paint Skin Weight Tool (Google for tutorials)
For some of the most common issues are;
'tag_origin' is bound along with the legs which deforms them.
To fix this, select 'tag_origin' then select the mesh of the legs and go into Skin > Edit Smooth Skin > Remove Influence
If you encounter any of joints/bones that you do not want to have influence on rotations/translations repeat the process.
You should now have a rigged model.
Then go into the top CoD1 Tools (If you have installed the python script provided at the top of the post)
And select Export Xmodel
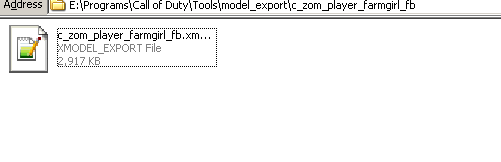
Select for Save to the location of Call of Duty\Tools\model_export\<modelname>\<modelname>.xm odel_export
(Create the folder if it doesn't exist, the modelname folder)
Example: E:\Programs\Call of Duty\Tools\model_export\c_zom_player_farmgirl_fb\c _zom_player_farmgirl_fb.xmodel_export
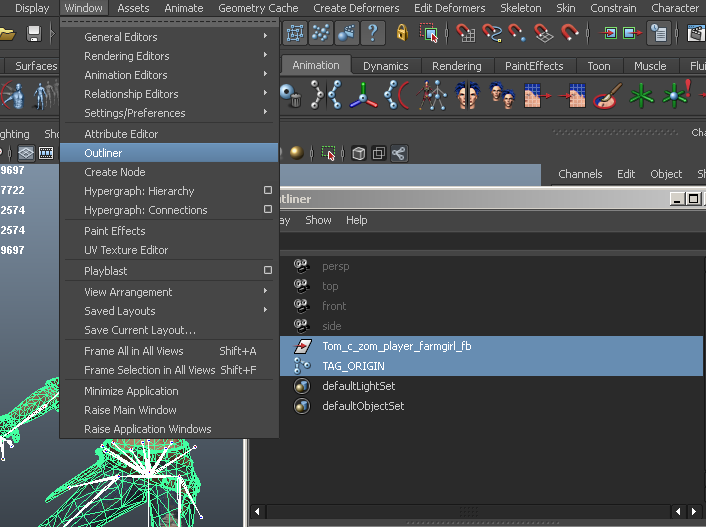
Now go into Window > Outliner
and select 'tag_origin' and the mesh. After that go to Edit > Select hierarchy so it will select everything to export.
Lastly click on Export selected in the popup menu.
Now you will have a xmodel_export file.
Converting
Now go into your 'model_export' folder and go into your '<modelname>' folder
Open up the XMODEL_EXPORT file with a text editor preferably Notepad++
If you see 'Bip01FBXASC032LFBXASC032Thigh' these kind of bone/joint names, replace all 'FBXASC032' to ' ' (a space).
Now go to the bottom of the file and look for 'NUMMATERIALS'
and change every
'MATERIAL 0 "bo2_mtl_c_zom_player_farmgirl_body"' to the image used. (Copy all the images to this folder)
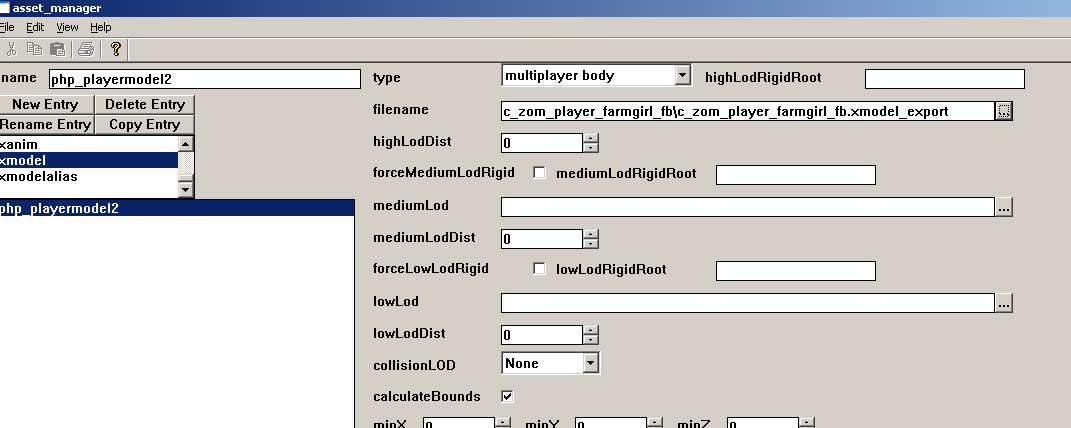
Asset Manager
Open the asset manager and make a new xmodel and name it anything you'd like and copy my settings over.
Save the gdt file
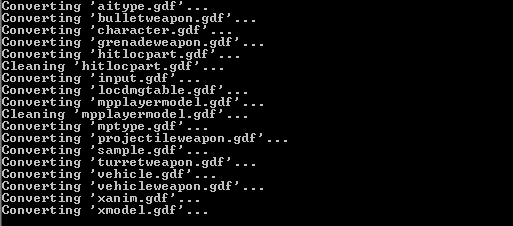
Converter
Launch the converter.exe in Tools\bin and wait for it to convert it.
If it was converted successfully your xmodel, xmodelparts and xmodelsurfs along with the skins folder of the model will be in Tools\game\main (You can change this folder with a shortcut and -gamedir "game/game_name" parameter)
Make a new pk3, copy the folders into it and now all that's left to do is edit your gsc script to precache and change your model ingame.
If everything went well the final result will be this.
I've spent some time writing this tutorial, so I hope you enjoy it and it'll be usefull. Please do not copy this tutorial, thanks.
riicchhaarrd/php/phpcod
I want to thank,
Tom Crowley for all of his wonderful tools. (http://tom-bmx.com) (http://tom-crowley.co.uk)
Results 1 to 10 of 10
Hybrid View
-
29th May 2014, 15:57 #1Private First Class

- Join Date
- Nov 2012
- Posts
- 142
- Thanks
- 28
- Thanked 116 Times in 59 Posts
[COD1] Import any playermodel [COD2/4/5/6/BO/BO2/GHOSTS]
-

.jpg)
.jpg)

 Reply With Quote